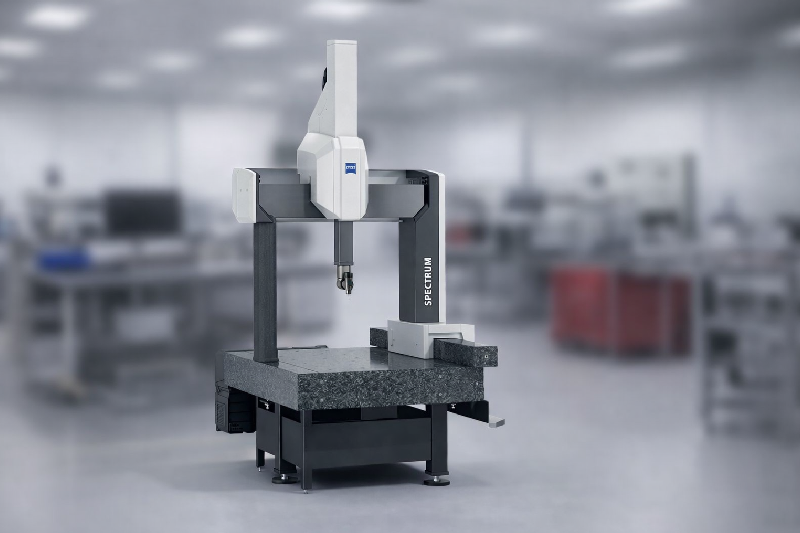
Precision measurement is the backbone of modern manufacturing. From automotive and aerospace components to medical devices and precision engineering parts, even the smallest deviation can impact product quality. One of the most important parameters that defines the measurement capability of a Coordinate Measuring Machine is CMM least count.
This blog explains the concept of CMM least count in a clear and practical way, covering its definition, importance, influencing factors, and how it affects measurement accuracy in real‑world industrial applications.
What Is CMM Least Count?
CMM least count refers to the smallest change in dimension that a Coordinate Measuring Machine can detect and display. In simple terms, it is the minimum measurable unit or resolution of the CMM system.
Just like vernier calipers or micrometers have a defined least count, a CMM also has a measurable resolution that determines how finely it can read dimensional changes. However, unlike manual measuring instruments, the least count of a CMM is not defined by physical scale markings alone. It depends on a combination of electronic, mechanical, and software‑based factors.
Why CMM Least Count Is Important in Metrology?
Understanding CMM least count is essential for ensuring reliable measurement results and consistent product quality. Its importance includes –
- High‑precision measurement – A smaller CMM least count allows the machine to detect very fine dimensional variations.
- Quality control confidence – Accurate least count ensures that inspection results truly represent the part’s dimensions.
- Tolerance verification – When tolerances are tight, the CMM least count must be significantly smaller than the tolerance value.
- Process capability improvement – Reliable measurement resolution helps manufacturers control machining and production processes more effectively.
- Compliance with industry standards – Many industries require measurement systems capable of resolving dimensions at micron or sub‑micron levels.
Factors That Affect CMM Least Count
The CMM least count is influenced by several internal and external components of the measuring system –
1. Scale Resolution
The linear scales or encoders fitted on the X, Y, and Z axes of a CMM determine how finely machine movement can be read. Higher encoder resolution directly improves the least count.
2. Probe Resolution
The measuring probe plays a critical role in detecting surface contact or position. The sensitivity of the probe system impacts the smallest detectable movement.
3. System Electronics and Software
Signal processing, interpolation, and internal electronics influence how measurement data is interpreted and displayed.
4. Mechanical Stability
Machine structure, guideways, and bearings affect vibration and stability, which indirectly impacts effective measurement resolution.
5. Environmental Conditions
Temperature variations, humidity, and vibration can affect CMM performance and limit the practical least count achievable during operation.
How CMM Least Count Is Determined?
Unlike traditional measuring tools, CMM least count is not calculated using a single fixed formula. Instead, it is determined by considering the combined effect of –
- Scale resolution
- Probe resolution
- Internal system noise
In practical terms, CMM least count represents the smallest incremental movement that the entire measurement system can reliably detect and display. Manufacturers typically specify this value in microns (µm) based on the CMM’s design and performance characteristics.
CMM Least Count vs Accuracy
It is important not to confuse CMM least count with accuracy.
- CMM least count defines the smallest measurable unit or resolution.
- Accuracy defines how close the measured value is to the true value.
A CMM may have a very fine least count but still produce inaccurate results if calibration, environmental control, or machine condition is poor. For reliable inspection, least count, accuracy, and repeatability must all work together.
Typical CMM Least Count Values
Modern Coordinate Measuring Machines commonly have least count values ranging from –
- 0.5 µm to 1 µm for standard industrial CMMs
- Below 0.5 µm for high‑precision and laboratory‑grade CMM systems
The appropriate CMM least count depends on application requirements, part tolerances, and industry standards.
Why Choose QS Metrology for CMM Solutions?
QS Metrology provides advanced Coordinate Measuring Machine (CMM) solutions designed to deliver reliable performance, precise resolution, and consistent measurement results. With a strong focus on accuracy, stability, and long-term service support, QS Metrology ensures that the CMM least count of every system meets the demands of modern manufacturing. From machine selection and installation to calibration, training, and after-sales support, QS Metrology helps manufacturers achieve dependable inspection results, improved process control, and confidence in quality compliance.
Applications Where CMM Least Count Matters Most
CMM least count plays a critical role in industries such as –
- Automotive component inspection
- Aerospace and defense manufacturing
- Medical device production
- Precision machining and tooling
- Electronics and micro‑engineering
In these applications, even micron‑level deviations can affect performance, safety, and compliance.
Best Practices to Maintain Effective CMM Least Count
To ensure your CMM delivers consistent resolution –
- Maintain proper temperature control in the inspection area
- Perform regular calibration and verification
- Use appropriate probing systems for the application
- Minimize vibration and external disturbances
- Follow recommended maintenance schedules
CMM least count is a critical parameter that defines the resolution and measurement capability of a Coordinate Measuring Machine. By understanding what it means, how it is determined, and why it matters, manufacturers and quality engineers can make better decisions when selecting and operating CMM systems. A well‑maintained CMM with an appropriate least count ensures accurate inspection, consistent quality, and confidence in manufacturing processes.


