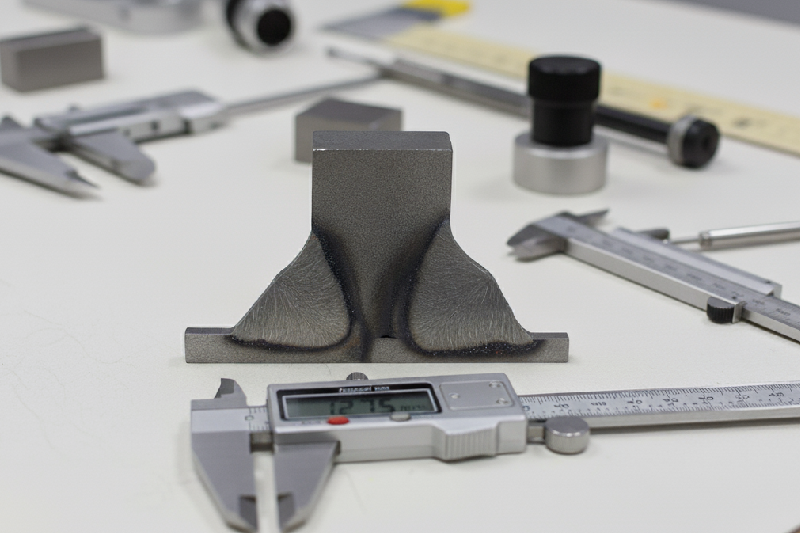
In every manufacturing or fabrication process, welding plays a crucial role in ensuring the strength and durability of a product. From automotive components to heavy machinery and aerospace parts, the quality of each weld determines the overall performance and safety of the structure. One of the most important parameters that define weld quality is penetration in welding — the depth to which the weld metal fuses into the base material. Understanding welding penetration and measuring it accurately are essential steps for ensuring consistent product reliability and compliance with industrial standards.
What is Weld Penetration?
Weld penetration in welding refers to the extent or depth to which molten weld metal fuses with the base metal or the preceding weld bead. This depth of fusion directly influences the joint’s mechanical strength and resistance to failure under load or stress.
Types of Weld Penetration
- Full Penetration – The weld metal completely fuses through the joint thickness, forming a strong and continuous bond. This is typically used for load-bearing structures where joint integrity is critical.
- Partial Penetration – The weld metal fuses only partway into the base material. While suitable for certain applications, it may not provide adequate strength for highly stressed joints.
Why Weld Penetration Matters
The quality of penetration in welding determines the joint’s ability to bear stress, vibrations, and fatigue over time. Inadequate penetration can result in weak joints, cracks, or even catastrophic structural failures. On the other hand, excessive penetration can lead to burn-through and material distortion. Hence, maintaining optimal and consistent welding penetration is vital for achieving strong, reliable welds that meet design and safety requirements.
Common Penetration-Related Defects and Their Root Causes
Poor penetration in welding often leads to several quality issues. Common defects include –
- Insufficient Penetration – The weld metal fails to reach the root of the joint, resulting in poor fusion and low joint strength.
- Lack of Fusion – The base metals or previous weld layers do not properly melt together, creating weak spots in the weld.
- Incomplete Fusion – A portion of the joint remains unfused due to improper welding parameters or technique.
Factors Affecting Welding Penetration
Several process parameters influence weld penetration quality –
- Welding current and voltage
- Travel speed of the welding torch
- Joint preparation, such as root gap and bevel angle
- Heat input and material thickness
- Type of welding process (MIG, TIG, arc, laser, etc.)
- Operator skill and consistency
In industries like automotive, aerospace, and foundries, these factors are critical. Even a minor deviation in welding penetration can compromise the structural integrity of components subjected to high mechanical stresses or thermal cycles.
How to Measure and Inspect Weld Penetration?
To ensure weld integrity, accurate measurement of penetration in welding is a vital part of the inspection process. There are both traditional and advanced methods used across industries.
Traditional Destructive Methods
Conventional methods involve cutting cross-sections of the weld joint, polishing, and etching them to visually analyze the depth of penetration under a microscope. This macro or micro evaluation helps determine the fusion depth and detect any internal flaws. While accurate, these methods are time-consuming, sample-destructive, and not suitable for in-line inspection.
Advanced Imaging and Metrology Solutions
Modern inspection technologies have made welding penetration measurement more efficient and non-destructive. Systems such as high-resolution digital microscopes and imaging-based metrology tools allow precise evaluation of weld profiles. These systems deliver accurate penetration depth data, measure throat thickness, leg length (in fillet welds), and analyze heat-affected zone geometry with minimal sample preparation.
QS Metrology’s Imaging Solutions are designed to deliver superior accuracy and repeatability in weld analysis. Their advanced Weld Penetration Inspection Systems enable engineers to visualize, measure, and document weld characteristics easily, ensuring that every joint meets the desired specifications.
Best Practices in Inspection
For reliable results, it is important to –
- Prepare samples properly before imaging or etching.
- Maintain consistent magnification and lighting conditions.
- Use calibrated measurement software for precision.
- Ensure measurement repeatability by standardizing inspection procedures.
Selecting the Right Inspection Solution for Weld Penetration
Choosing the right system for penetration in welding inspection can make a significant difference in quality control and production efficiency.
Key Features to Consider
- High-resolution imaging for detailed weld visualization.
- Automatic measurement and analysis functions for repeatability.
- User-friendly interface that integrates easily into QA workflows.
- Data traceability and reporting features for quality documentation.
Real-World Applications
Accurate weld penetration measurement benefits multiple sectors –
- Automotive Industry – Ensures the structural integrity of chassis and suspension parts.
- Heavy Fabrication – Prevents rework and rejects in large assemblies.
- Aerospace Components – Guarantees compliance with safety and performance standards.
By implementing advanced inspection solutions, manufacturers can reduce errors, increase efficiency, and maintain consistent weld quality across production lines.
Implementation & Best Practices
For Plant and QA Engineers
- Define weld acceptance criteria based on design and industry standards.
- Regularly calibrate inspection equipment for accuracy.
- Maintain clear documentation and traceability of inspection results.
- Provide proper training to personnel handling inspection systems.
Workflow Suggestions
- Integrate welding penetration measurement into routine QA checks.
- Track penetration trends over time to identify process variations.
- Correlate weld data with process parameters to improve consistency.
Challenges and Mitigation
- Surface Finish – Proper polishing and cleaning improve measurement clarity.
- Complex Joint Geometry – Use adaptable imaging systems with variable magnification.
- Large Structures – Employ portable inspection systems for flexibility.
Accurate penetration in welding is the foundation of durable, high-quality welds. Ensuring proper measurement and analysis not only enhances product performance but also minimizes rework, reduces downtime, and strengthens customer trust.


